This past weekend was the big fundraiser at my nieces' school. Not only are they in Kindgerten and Pre-3 full time this year but my brother-in-law works in the parish offices and my sister, their mom, is a teacher there now too. So, they have to put in volunteer time as parents AND staff. Plus, this is something for my two perfect and absolutely wonderful nieces so the whole family is willing to help :) My mom cooked up a storm: two kinds of cupcakes, two kinds of brownies and halloween cookies galore. She packed them all in pumpkin themed wrap and sent them to school on Friday for the bake sale portion of the event. My sister called her that morning after getting to work to tell her how happy and excited the 'bake sale ladies' were with everything. Come to find out they weren't getting as much in as they normally do (they ended up getting a TON of stuff in later that day and sold out by Saturday night!) and they had just found out that the lady who makes them a few fancy cakes to raffle off or sell for a bigger price wasn't going to make them anything this year. They had no 'big' eye catching item. I wanted to help and since I know how to basically decorate cakes with the flowers and all that fancy stuff I wanted them to have a special cake. But, I was already down at my mom's house for the day and had none of my tools so I knew it would have to be relatively 'easy'. I found the instructions for this cute little guy over at Family Fun and I am so happy with how he turned out and how much fun he was to make. My mom helped me out a LOT so I think that was part of the fun! I used two bundt pans, three Betty Crocker Spice Cake mixes (so GOOD!!) and two tall cans of whipped frosting. The stem is a ice cream cone and the face is flattened and cut out gumdrops.
I have a few things I did differently and a few tips to offer.
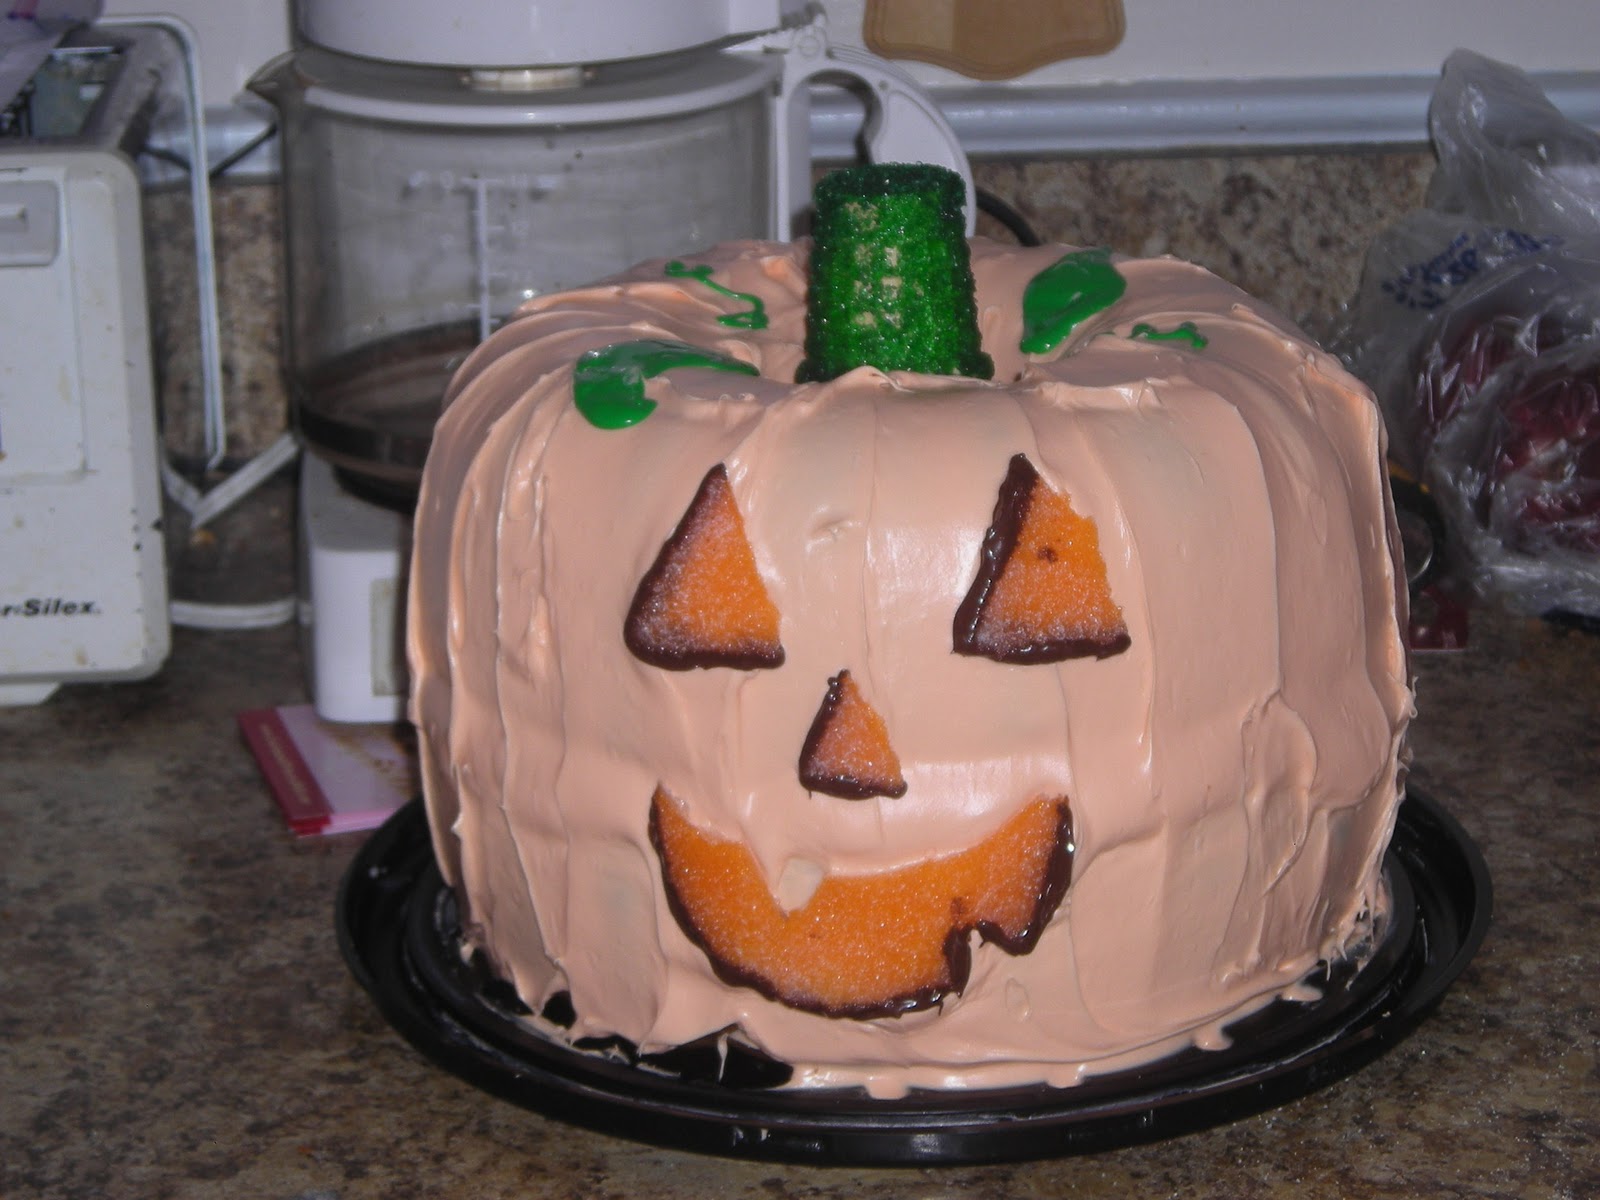
-if you are making this for an event at your own home it's great. If you are making this for something where you will have to transport it-be careful!!! He did not look like the picture once he got to the bake sale..I had to do some damage control because he shifted between the layers. If I ever do another one and have to move it I will definitely put dowels in a few spots.
-I couldn't find a green ice cream cone so I bought a regular one and planned on covering it with green icing. I changed my mind once home. My mom had green sugar crystals and Karo syrup. I simply covered the cone with syrup via a basting brush and then sprinkled the crystals all over it. I let it dry and it was perfect.
-When you dip the pieces of the face in the chocolate let it dry or cool a bit. You can see my fingerprints in a few places where I touched it while trying to get them in place as soon as the chocolate was applied...oops!
I don't know who ended up winning the raffle but I have heard it was a hit with the kids and they ended up having to come up with a cover so the little fingers would stop touching it!
Definitely something I will try again in the future :)


4 comments:
What a fun idea! I'll have to try that one this weekend. I bet it tastes even better than it looks!
this is cute too!! i love it and your blog is awesome! lots of fun stuff:)
http://jaysonandashley.blogspot.com/
This looks great! What a pretty little pumpkin! Thanks so much for sharing this @ Show & Share! I am so happy that you did!
Found your link at Someday Crafts. You did an amazing job!! And does it never seem to fail that when you do something that will WOW someone, it will get trashed before anyone sees it looking it's best...at least that how my luck goes. Glad the damage was fixable!
Post a Comment